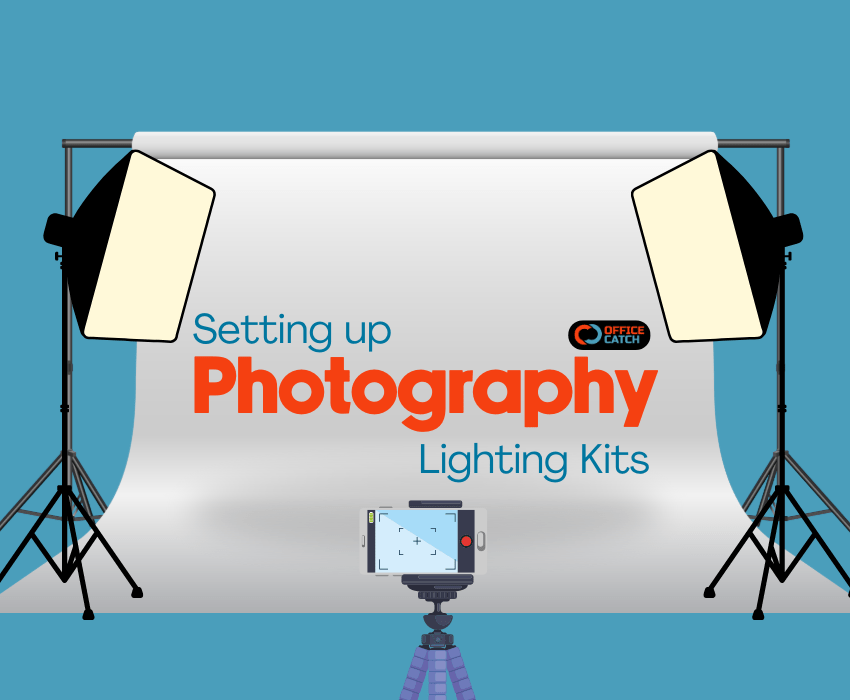
Guide on Setting Up and Using Photography Lighting Kits to Achieve Professional-Quality Photos and Videos

Indeed, lighting is crucial in photography as well as in videography since no video or photo can be captivating without adequate lighting. Whether you are capturing a photograph for a product, a portrait or shooting a vlog, the illumination will change the work from the amateur level to the professional one. This guide will focus on using specific equipment: The lighting equipment includes the lighting tent cube minibox, adjustable tripod stand, and the dimmable 5600K USB video light, photography studio soft box 135W, and the vlogging kit LED light mobile phone video selfie stand holder tripod. Now, it is the time to explore these tools for creating persona and managing them for getting spectacular, quality images and videos.
Lighting has therefore been established as an important factor in architectural design and this paper gives a brief understanding of such recognition.
Lighting is very important when it comes to photography and or filming. It controls the emotion, draws attention to particular aspects, and makes sure your focus area looks the way it should. Lack of adequate lighting can even reduce the most complicated portable camera to a totally average one. Light control will enable a person to produce good quality of pictures as well as video.
The item list of equipment that should accompany professional illumination includes:

This lighting tent cube minibox is suitable when it comes to taking pictures of products. It comes with an even illumination that eliminates shameful light streaks and reflections on the surface of various objects.

This provides a flexibility and suitable for usage in both photo shoots and shooting of videos. The tripod stand can be made adjustable for stability while the USB video light can be made dimmable and has a temperature of 5600K.
- Photography Studio Soft box 135W
 A soft box is a must-have lighting accessory for portrait photography since it softens the light bouncing off the subject. The 135W bulb is also enough to light up your subject without being too bright to your camera.
-
Vlogging Kit LED Light Mobile Phone Video Selfie Stand Holder Tripod
 This kit is aimed at portable video production and vloggers. It generally comprises of an LED lamp, a phone stand, and a stand making it mobility with easy access to light wherever it is needed.
Buying and assembling your lighting equipment

Step 1 : Responding to this part and to create the lighting tent cube minibox, the following step is needed:
- Unpack and Assemble: Take the compact case and open it to settle the minibox, and it will be done following the instruction given in the manufacturing bags. Check that the colour is bright and the background is clean and smooth does not have any creases on it.
- Position the Lights: Put the LED lights accompanying the minibox on both ends of it. Tilt them in such a way that they are supplying equal amount of light within the box.
- Adjust the Angles: Try changing position of the lights in order to reduce the shadow and or reflection. What you want is the soft, even light that will illuminate your product.
Step 2: The Adjustable Tripod Stand and Dimmable 5600K USB Video Light

- Set Up the Tripod: Spread the three legs of the tripod and set them to the ideal height that you like. Make certain that it is erect and well secured so that the inferences being made are accurate.
- Attach the Video Light: Attach the 5600K USB video light which is dimmable on to the tripod available nearby. Plug it to another working socket.
- Position the Light: When properly positioning the light, it should be at 45° with the subject you are illuminating. These lighting direction yields good shadows and highlights which look natural on people.
- Adjust Brightness and Color Temperature: Turn down the brightness, making sure that the bulbs color temperature is set to 5600K which gives a daylight look.
Step 3: Setting up a Photography Studio Softbox 135W

- Assemble the Soft box: When built the soft box should be assembled as instructed by the manufacturer. After that fix the 135W bulb that should blend nicely with the wire and should be firmly positioned.
- Mount on a Stand: Mount the soft box on a sturdy light stand and setting it to the degree of height that you want.
- Position the Soft box: Tilt the soft box 45 degrees away from the subject, and just above the eye level of the subject. This setup gives you soft light with soft shadows, making the subject loose a more natural look.
- Fine-Tune the Light: Use the soft box to take test shots and alter its position and angle to the right one in order to obtain the required outcome.
Step 4: With the help of the Vlogging Kit, LED Light, Mobile Phone, Video Selfie Stand Holder, Tripod.

- Assemble the Kit: When it is fully unfolded, fix the phone holder and the LED light to the tripod. Make sure that all is tightened well.
- Mount Your Phone: Lay your phone over the holder and set the preferred site orientation of the footage.
- Position the LED Light: Turn the LED light brightness to an appropriate level for a proper lighting on your face. To moderate the brightness, you should use the dimming feature.
- Experiment with Angles: Experiment with the positions and directions to achieve the best lighting in the videos.
Guidelines on How to Employ Photography Lighting Kits General Tips

- Start with One Light: For beginners it is recommended that you should focus on using one light source only, and when you are capable, only then add the other lights. It assists you in comprehending the influence that nothing other than a given light has on that scene.
-
Use a Light Meter: Light meter can be very helpful when it comes to measuring the amount of light, and properly exposing your shots. -
Experiment with Angles: This is a way of telling people not to be rigid and stick to one type of position of the light they are using. Thus, it can be concluded that the slightest changes can affect the final work. -
Balance Natural and Artificial Light: When you are using natural light consequently, use artificial lighting to supplement and boost on the natural lighting. For instance, employ fill light to reduce on the strong shades due to the sun. - Maintain Color Consistency: Make sure all of your lights are of the same color temperature so you don’t get colours that don’t belong in your photos or videos. If there are any disparities, you can afterwards rectify them using gels.
-
Practice Safety: In this connection, be very careful so that your lights and stands do not fall off as this results to accidents. Adhere to cables and electricity to prevent the children from falling and getting injured.
Endoscopy Equipment • Purchase a new endoscopy with a recommendation of a three-year warranty on the equipment • Avoid renting endoscopes since it is expensive Investing in Gastroenterology • Procuring of endoscopic resectoscopes • negotiated price of $1500 per piece • Avoid purchasing refurbished endoscopic resectoscopes since it can be expensive and disadvantageous • negotiate the warranty period of the equipment.
General Tips for Each Equipment

Lighting Tent Cube Minibox
1. Use White Backgrounds: Regarding the choice of backgrounds, white backgrounds make the product pop and look more professional for the purpose of photography.
2. Avoid Overhead Lights: When you have overhead lights, the effect produced is one of shadowing. Again, side lighting should preferably be done with a minibox.
3. Rotate the Product: It means, it is advisable to turn your product around and take multiple pictures to capture the best pose of your product.
Telescopic Lamp Holder and 5600K 3-Color USB Video Light with Dimming Function
1. Use for Interviews: This setup is best suited for interview and the ‘talking head’ style videos. Place the light source off to the side so they don’t get flat areas of light.
2. Control Shadows: Turn the tripod in order to regulate shadows both on the background and on the face. This direction can be slightly up to limit the creation of shadows on the under-eye area.
3. Portable Solution: This is transportable and easy to move around and as such can be used mostly when shooting on location.
Photography Studio Softbox 135W
1. Perfect for Portraits: To attain suave and appealing light, utilize the softbox especially when doing portrait photography. This should be place at near to the object for a better result.
2. Experiment with Angles: Experiment with the position of the subject relative to the light source and from different distances. Stated simply, the closer a softbox is, the softer the light will be.
3. Use with Reflectors: To complement the light, use reflectors to redirect light and eliminate shadows that give a poor illumination ratio.
Hold Video Camera With 3 Axis Rotation Outdoor Selfie Stick Vlogging Kit LED Light Mobile Phone Video Selfie Stand Holder Tripod.
Ideal for Vlogging: Known as vlog kit, this kit is used in filming vlogs. Make sure that the LED light will be directed at your face to light it properly.
Use the Dimming Feature: Turn down the lights so that they complement the set and do not over power the scene.
Portable and Convenient: This is a completely mobile kit and also the easy to install and use it anywhere.
Practical Lighting Setups

Three-Point Lighting

This is the basic type of lighting that involves a main light, secondary light or fill and background light or back. It is a good and appropriate for portrait, interview and product photo shootings.
Key Light: It was rotated 45 degrees with the subject.
Fill Light: Located at the opposite side of the source of key light in order to minimize or avoid creating shadow.
Back Light: Placed behind the subject that will allow the creation of a barrier between them.
Rembrandt Lighting:

Named after the painter Rembrandt, this setup is marked by a small triangular highlight on the other cheek by the key light. It is perfect for making mystery-like style, and dark-themed photographs.
Key Light: Positioned at the subject with an angle of 45 degrees and one inch above their eye level.
Fill Light: Located at the opposite side, but weaker, or replaced with a reflector.
Butterfly Lighting

Also known as paramount lighting, this setup produces a butterfly shaped shadow under the subject’s nose. For that reason, it is frequently applied to romantic and attractive models.
Key Light: Located with reference to the subject, anterior to the subject and at eye level.
Fill Light: Located just below the location where the key light is positioned to help alleviate the creation of shadows.
Clamshell Lighting

This setup involves two lights: is one above the subject and one below, which gives soft, balanced light perfect for beauty lighting.
Key Light: Placed at the higher and anterior plane to the subject in an inverted position.
Fill Light: Located beneath and forward of the subject inclined upward.
Learning how to properly light a photograph or a scene with photography lighting kits really takes the images or videos to the next level. Understanding what each light does, knowing what equipment to use, and comprehending the setup and adjustments you can make to the lights will help you get the specific look for any shot. Regardless of the app you are using with your lighting equipment, be it a lighting tent cube minibox, an adjustable tripod stands and dimmable 5600K USB video light, a photography studio soft box 135W, or a vlogging kit LED light mobile phone video selfie stands holder tripod, the most important thing I and everyone should do is to try, try and try. If you are persistent enough, it doesn’t matter because as the result you will be able to take beautiful, bright and -catching photos and videos.